How Long It Takes
We run this job from Lexington, about 16 miles out, so an opener install in Trinity gets scheduled as its own appointment rather than squeezed between calls closer to the shop.
Few hours for swap
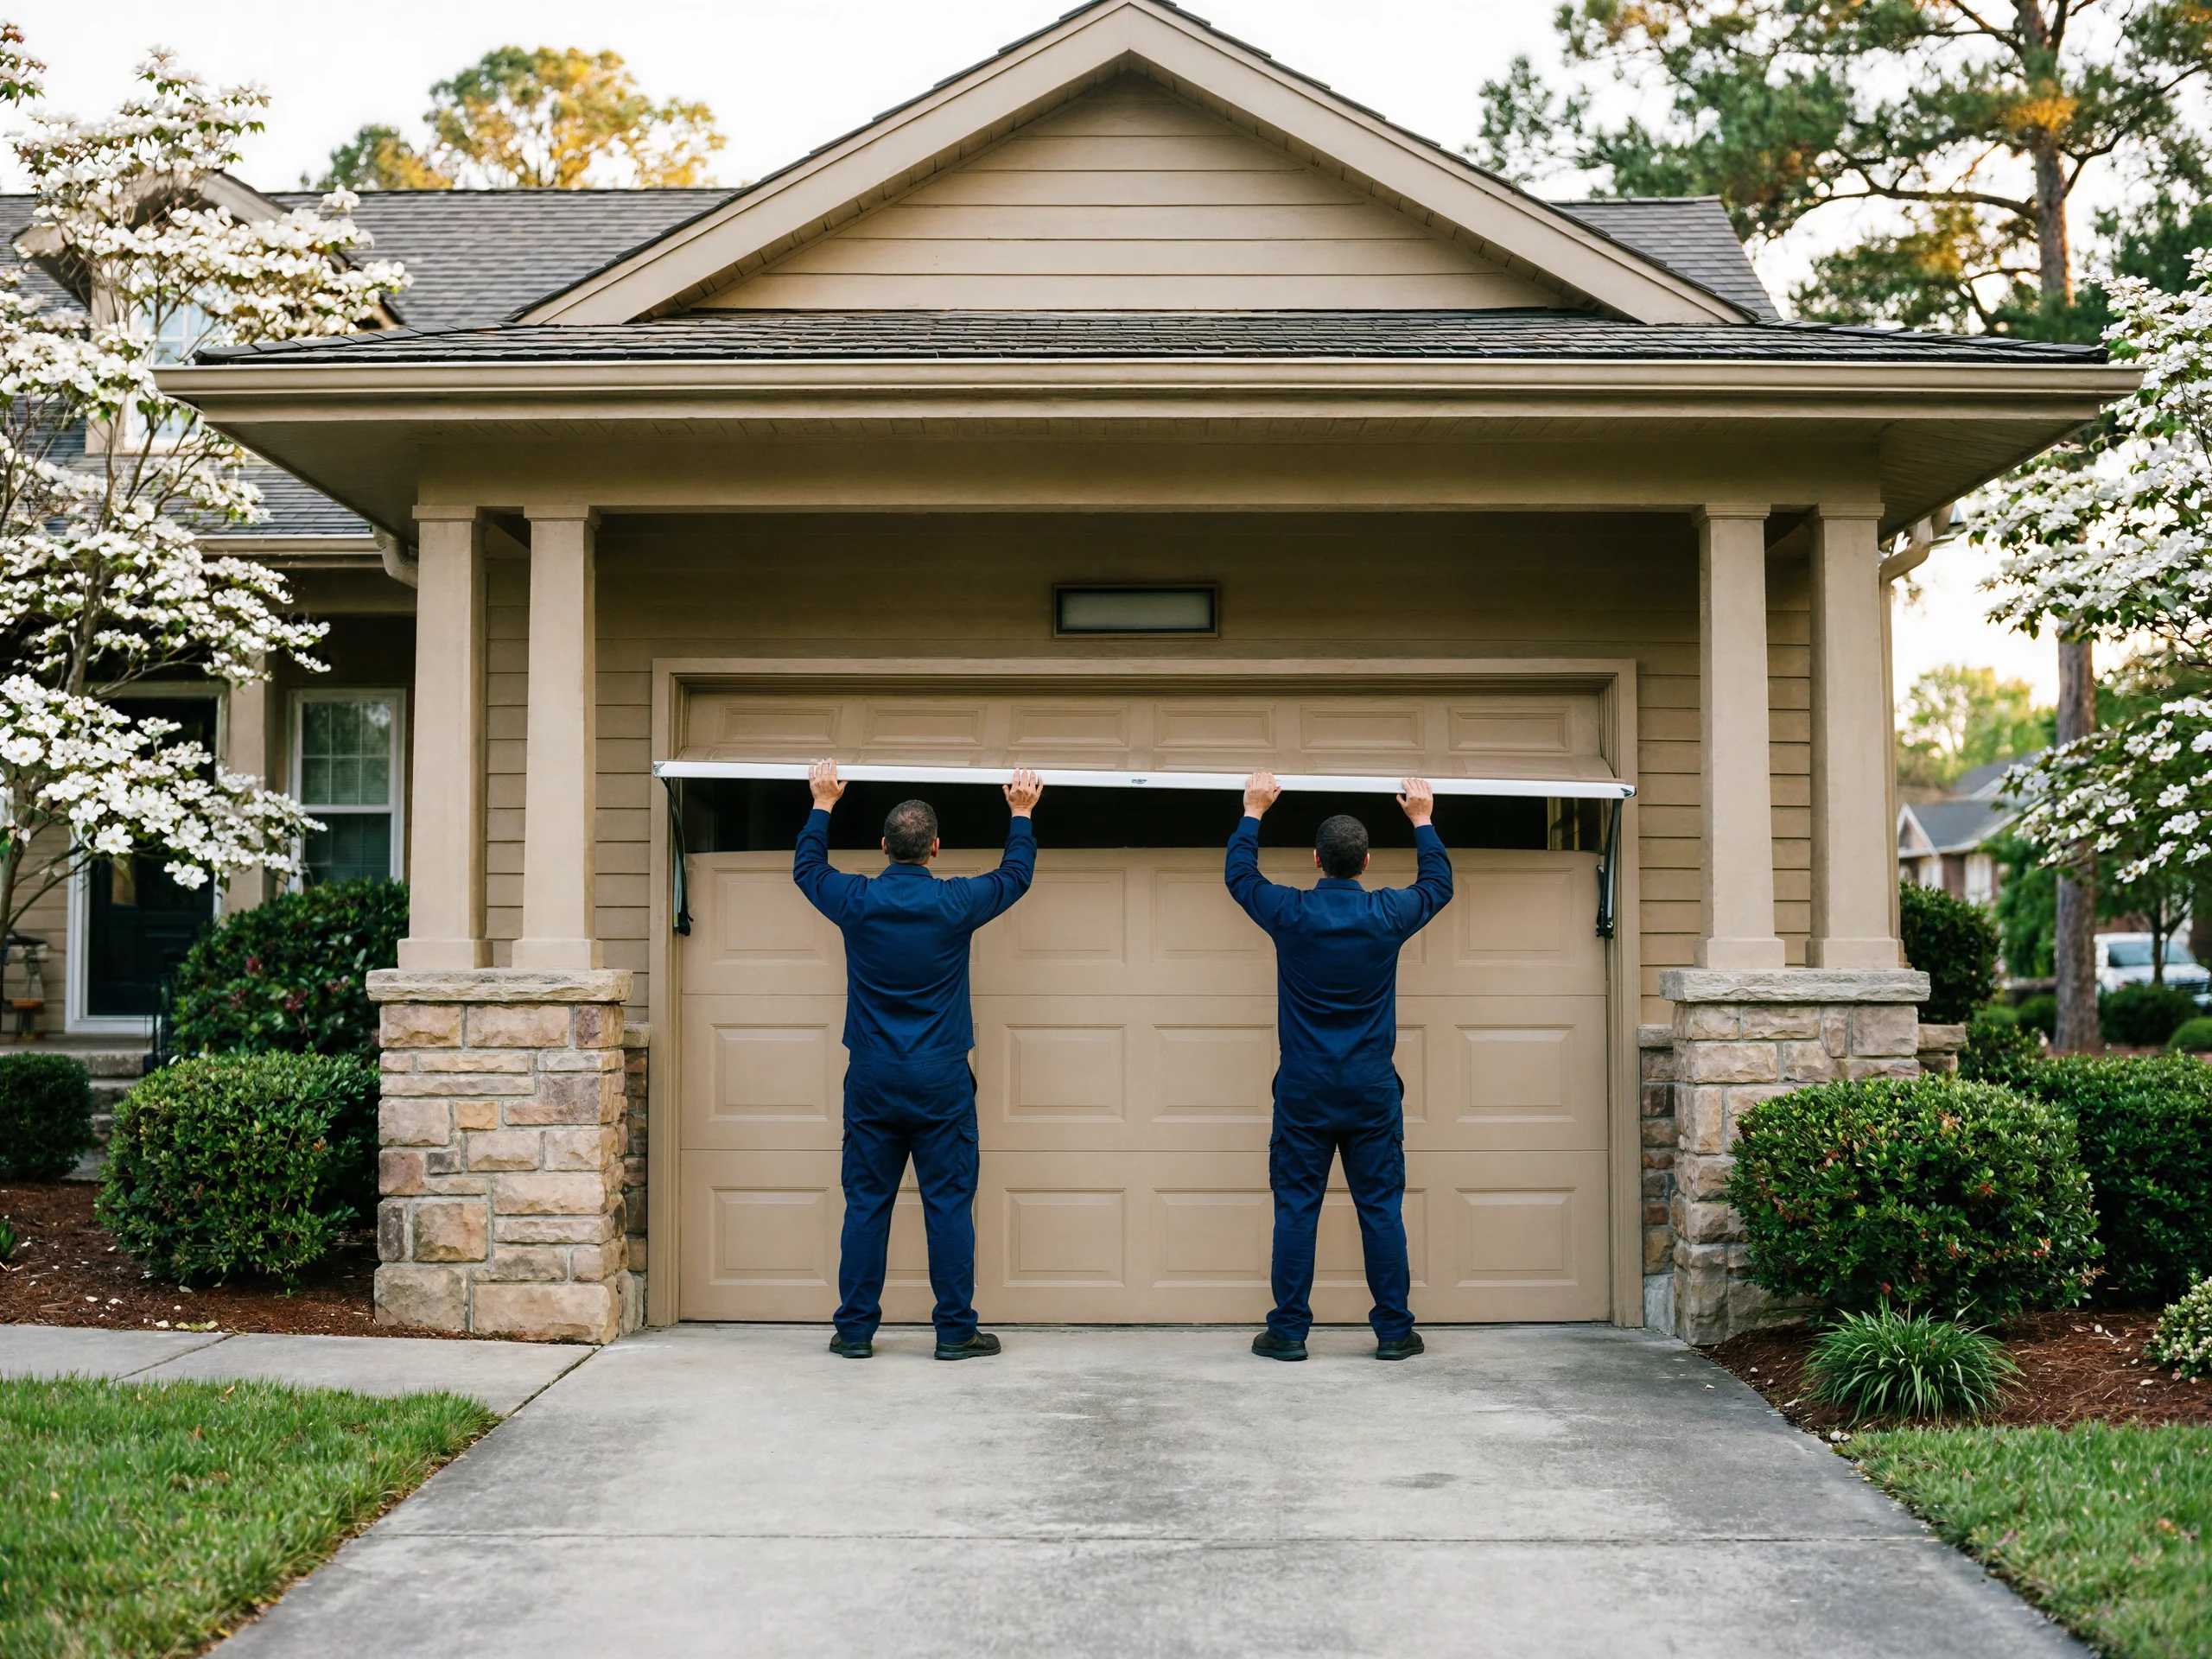
A straightforward swap on a door that already has working track and springs usually runs a few hours once the truck is on site. Add time if the header needs new bracing, which is common on houses from the late 1970s where the opener rail was mounted straight to a single stud.
Bracket holds heavy load
We won't quote a tighter window than the job supports, and we'd rather tell you that upfront than rush a bracket that needs to hold 150 pounds of door and a steel rail over your head for the next twenty years.
Batching with spring work
If your door also needs spring or cable work, that adds to the visit, and we'll say so before we start rather than after we've opened the panel. Travel time from Lexington is part of why we batch Trinity calls when we can, but it doesn't change how long the install itself takes once we're there.
Why It Happens Here
The median home in Trinity went up around 1977, a few years ahead of the 1983 median across the wider service area, which puts a good share of these garages into the chain-drive era before belt and screw drives became common upgrades. Those original openers, or their first replacements from the 80s and 90s, used lighter rail steel and simpler gear sets than what's sold today. Thirty-plus years of opening and closing wears the nylon drive gear down to dust long before the motor itself quits, which is why so many of these units fail with a working motor and a dead chain. Cold snaps add to it. This area sits in a moderate-cold climate band, and a stiff torsion spring on a cold morning makes an aging opener work harder to lift the door, which speeds up wear on a gear that was already thin. None of this is unique to one house. It's a pattern tied to when this part of Trinity was built and what got installed back then, not a one-off fault.
The Symptom
The opener that's stripped its drive gear doesn't go quiet, it goes loud, then nothing. You'll hear the motor running and the chain or belt moving, but the door doesn't lift, or it jerks partway up and stalls.
Gravel-like grinding sound
On older units from this era, you'll sometimes catch a grinding sound a few weeks before the gear goes completely, almost like gravel in the housing. Another version: the door opens fine but reverses halfway down, which on a unit this old is often a worn-out safety reversal mechanism rather than anything wrong with the door itself.
Carriage stuck, gear failing
If your remote still lights up but the carriage on the rail doesn't move, that's the drive gear, not the opener's logic board, and it's usually not worth chasing with a new remote or keypad.
First checks before motor
We see this pattern often enough in Trinity's older housing stock that it's one of the first things we check before assuming the motor itself is the problem.
What You Pay
We're not going to quote a number here that doesn't hold up once we see your door. A single eight-foot door with a light aluminum panel costs less to lift than an insulated double door, and that difference in weight changes what opener and what mounting hardware the job needs.
Belt drive with backup
What we can tell you is that Trinity's household income runs higher than the service area average, $80,349 against $64,562 across the wider area, and in practice that shows up as more requests for belt-drive units with battery backup and smart-phone control rather than the baseline chain-drive replacement.
Belt quieter, costs more
Both do the job. The belt drive runs quieter, which matters more if the garage sits under or next to a bedroom, and it costs more up front.
House-specific number
We'll walk the actual door with you, check the header and the existing track, and give you a number for your house, not a average pulled from a different one.
The DIY Question
A boxed opener kit makes the install look like a weekend job, and for some people it is. Where it goes wrong is the bracket work: getting the rail square to the door, setting the travel limits so the door doesn't crush the floor or stop short of the stop, and wiring the safety sensors so they actually cut power instead of just blinking. On the older headers common in Trinity's 1970s-built garages, the original mounting point is sometimes a single stud that was fine for a lighter 1970s opener and isn't rated for a heavier modern unit without added bracing. That's not a step most kits walk you through. If you're comfortable with a drill and a level and your door's springs and cables are already in good shape, swapping a motor head on existing rail is reasonable. If the rail, bracket, or header needs work too, that's where we'd tell you to call rather than improvise.
What the Repair Takes
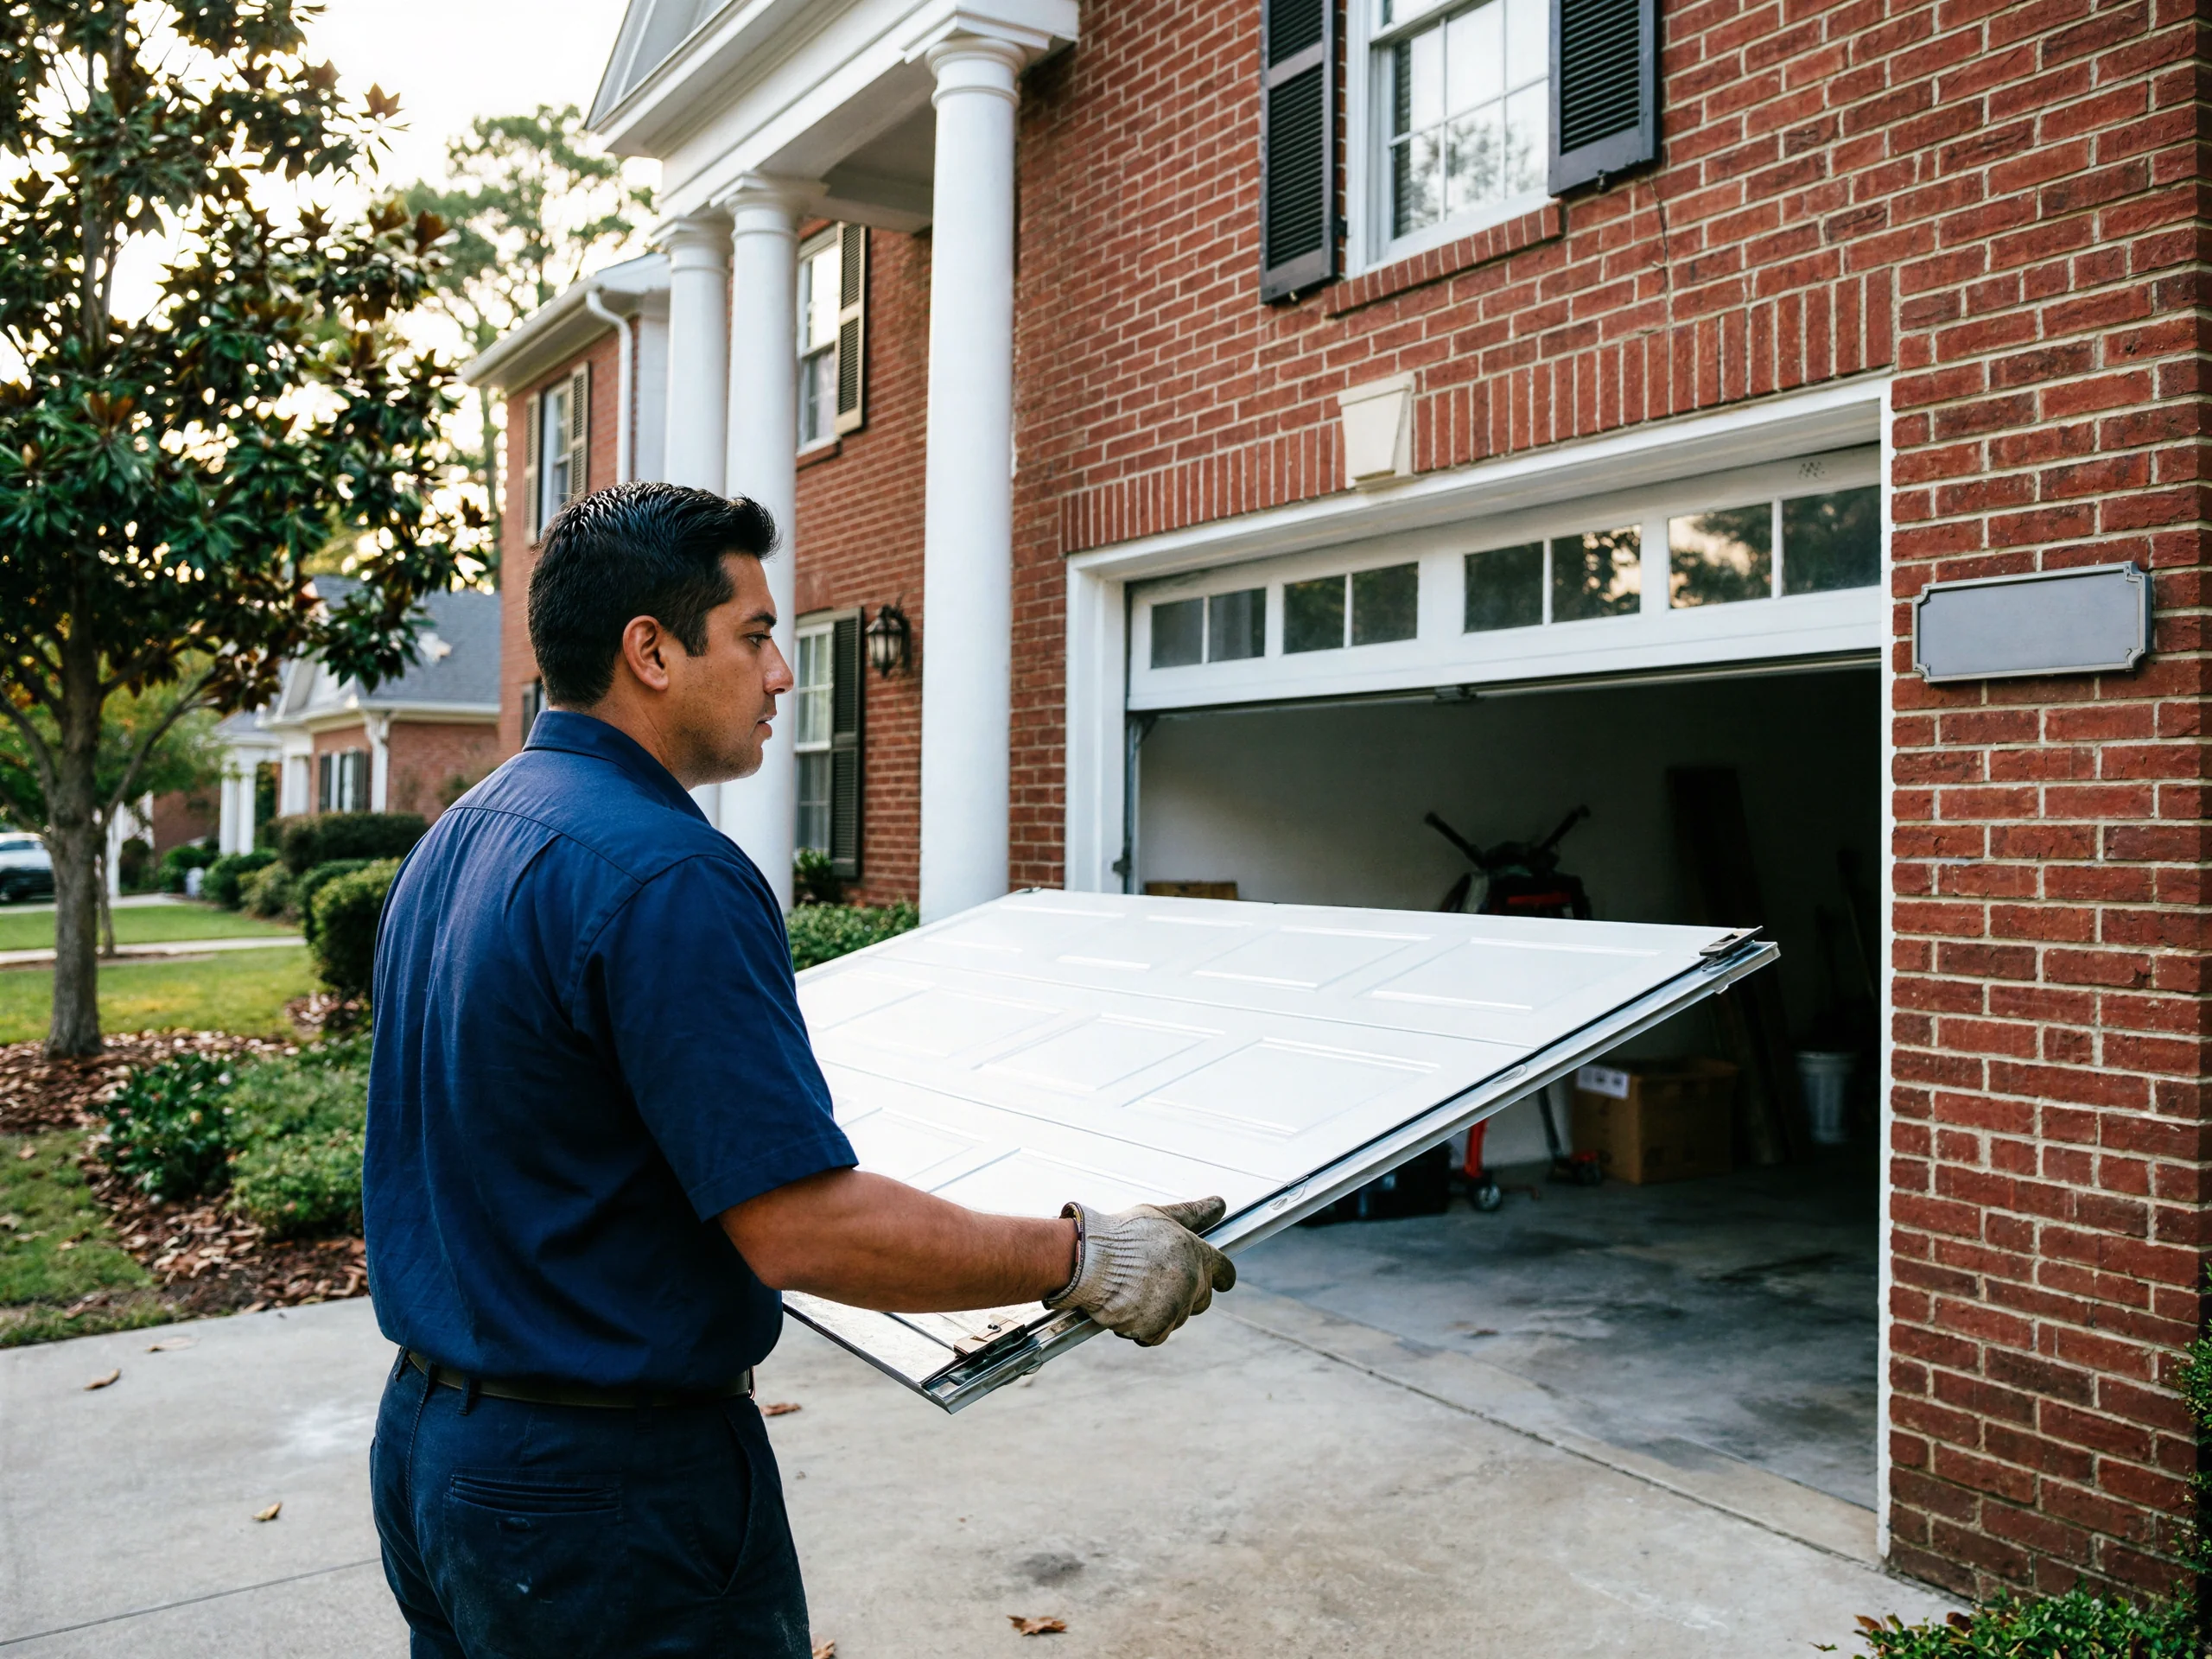
A full install starts with checking the door itself, not the opener. If the springs are undersized for the door's weight, which turns up on some of the heavier insulated doors fitted to older Trinity garages, we flag that before mounting a new opener on hardware that's already working too hard.
Rail and header mounting
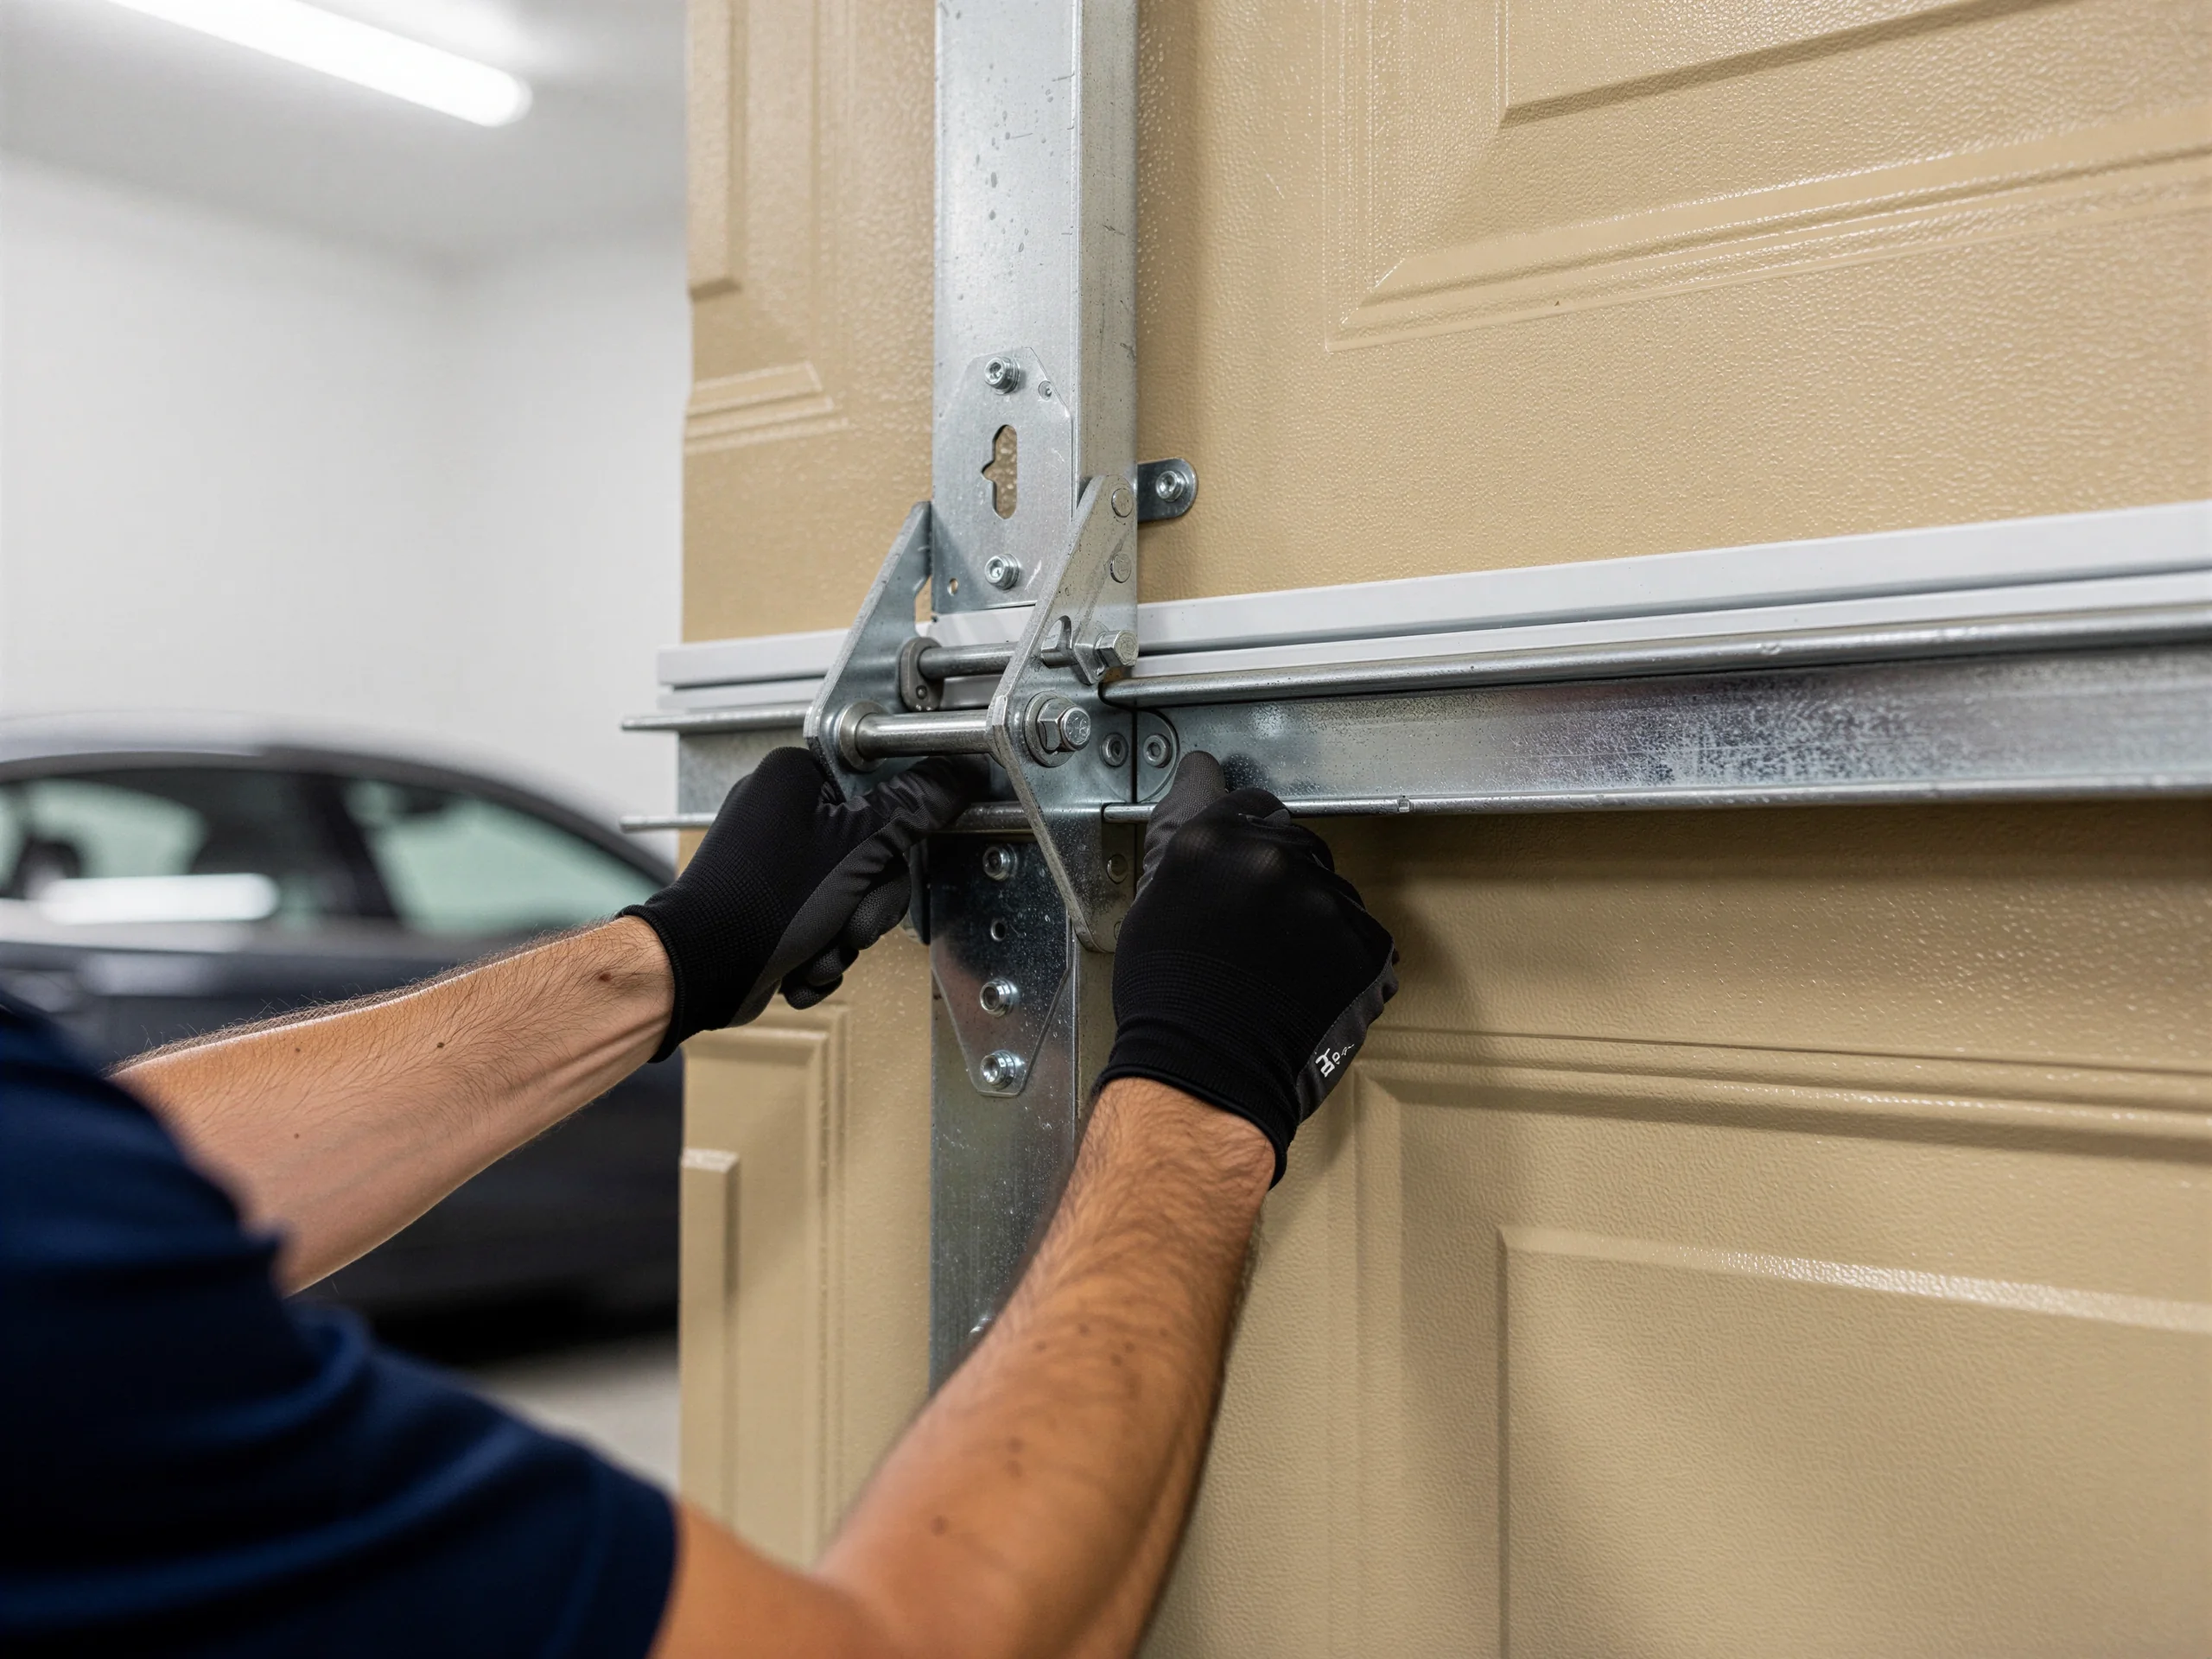
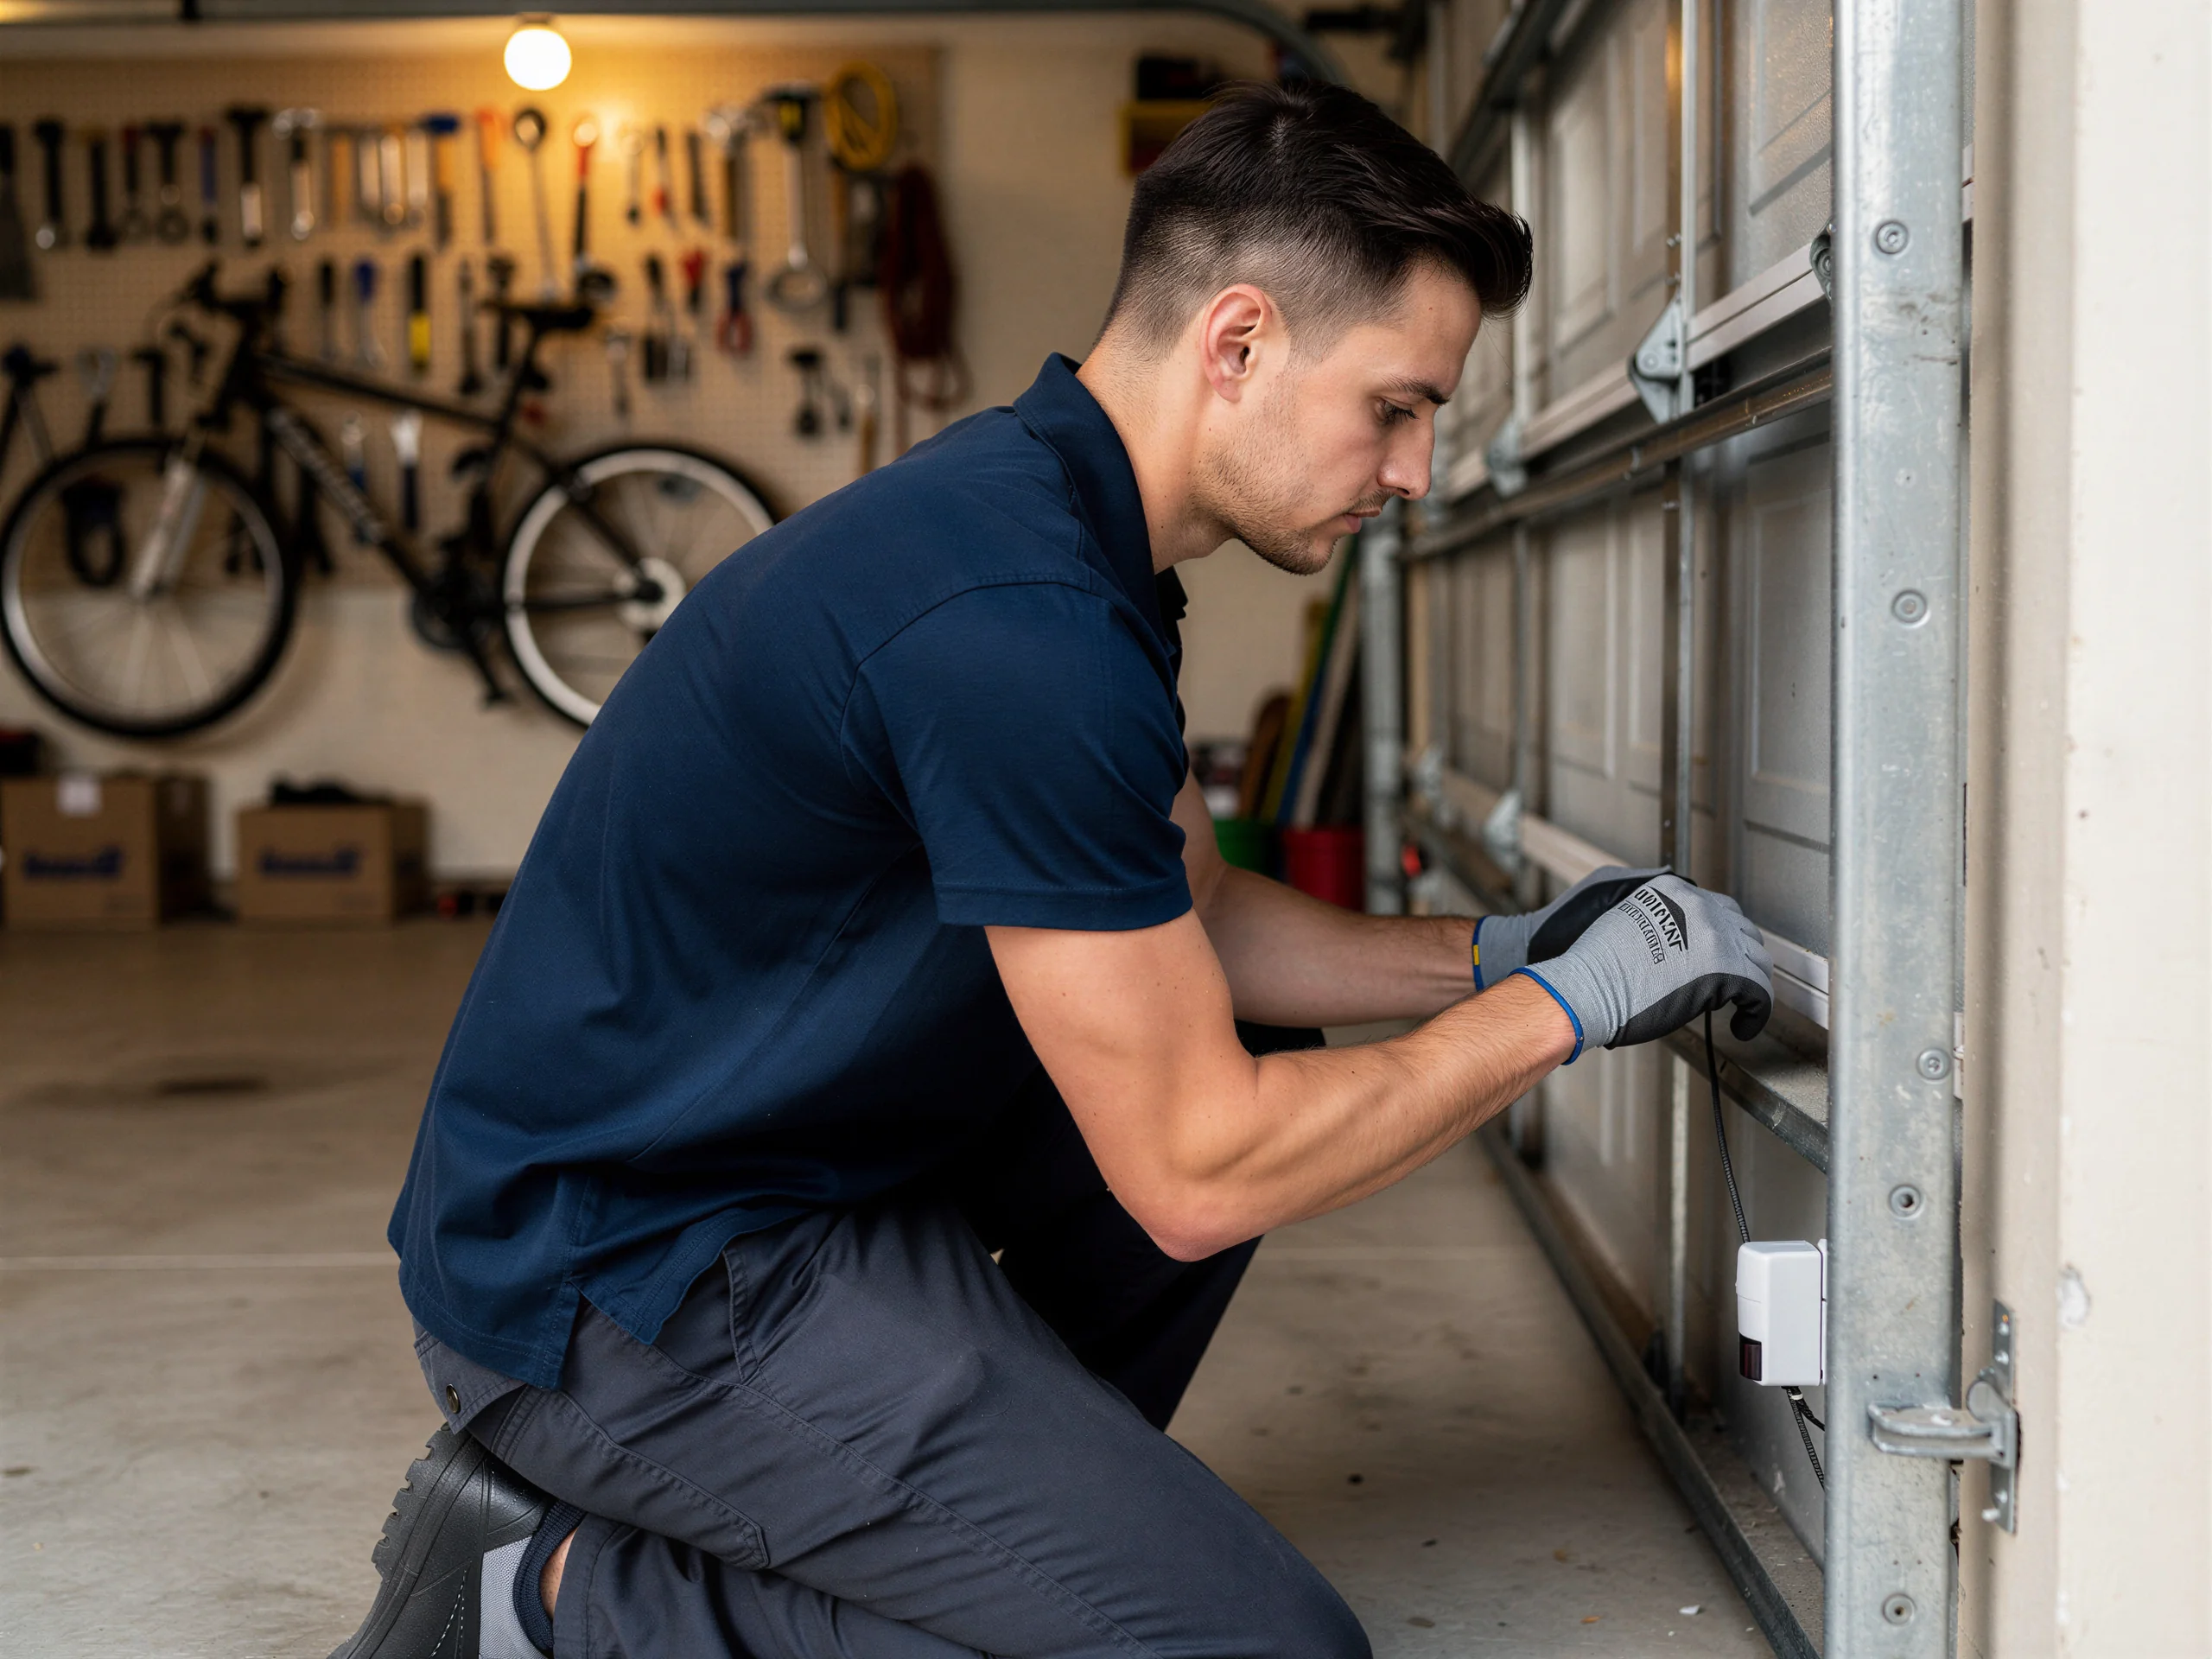
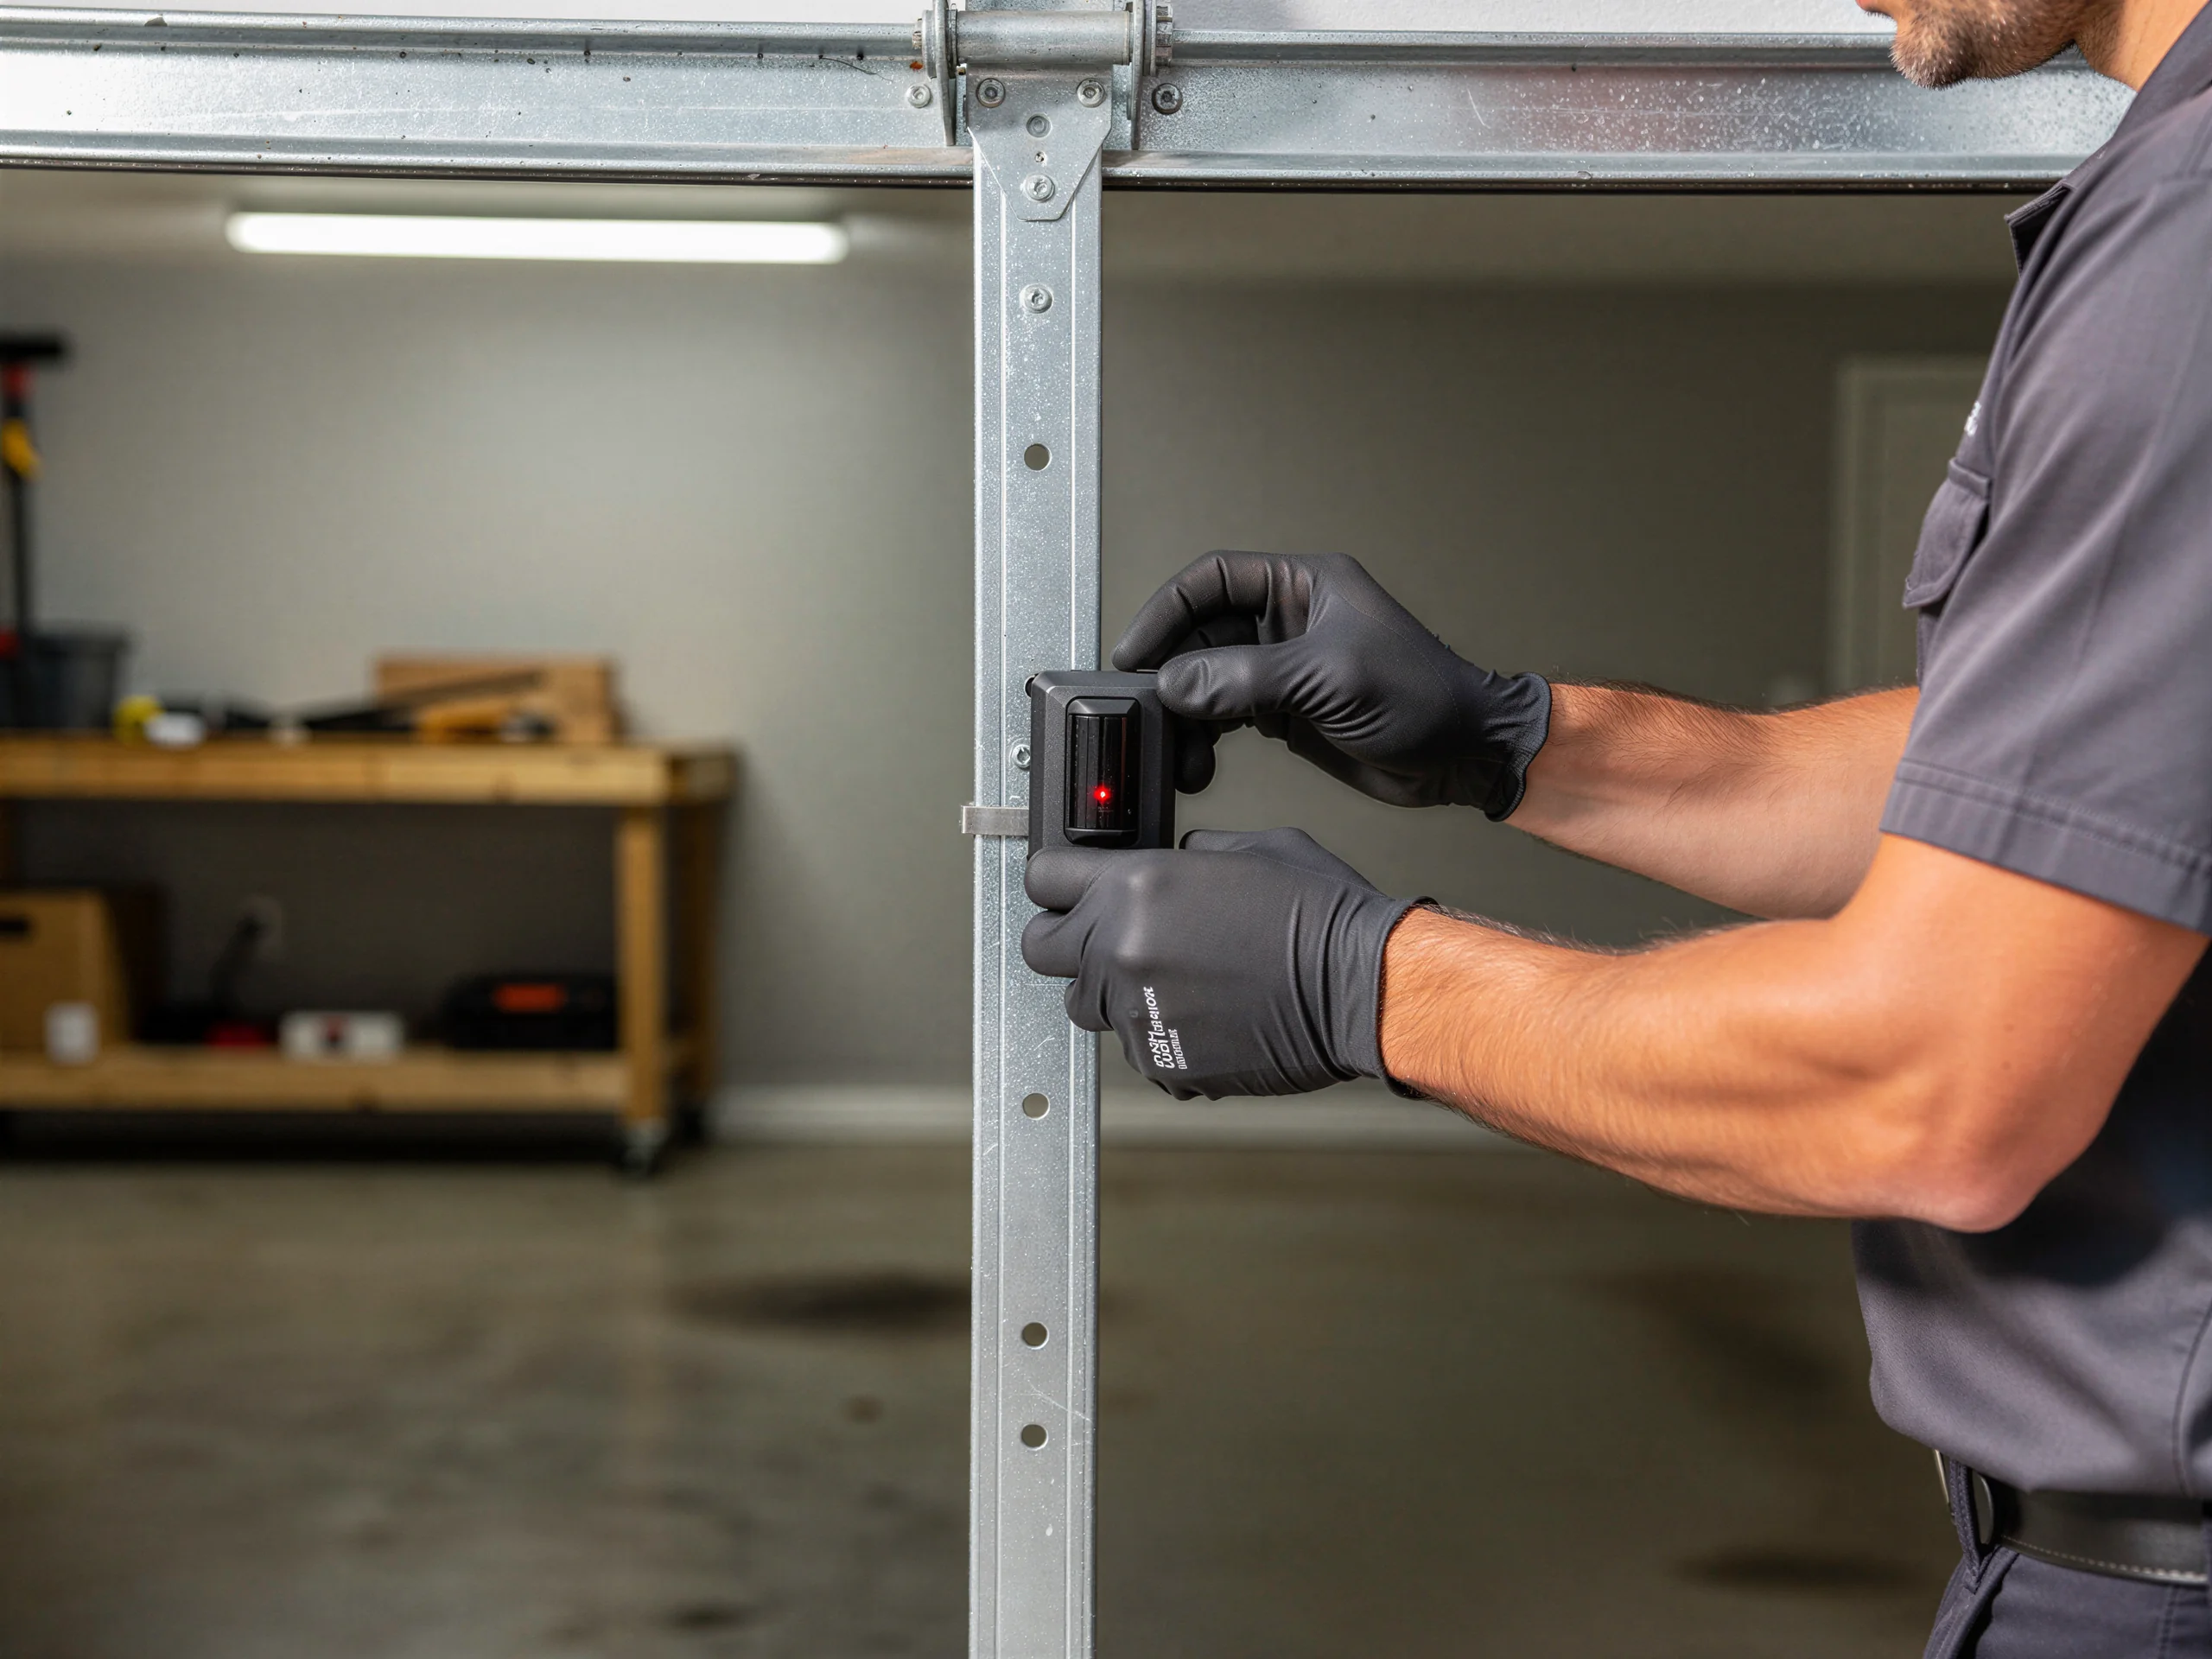
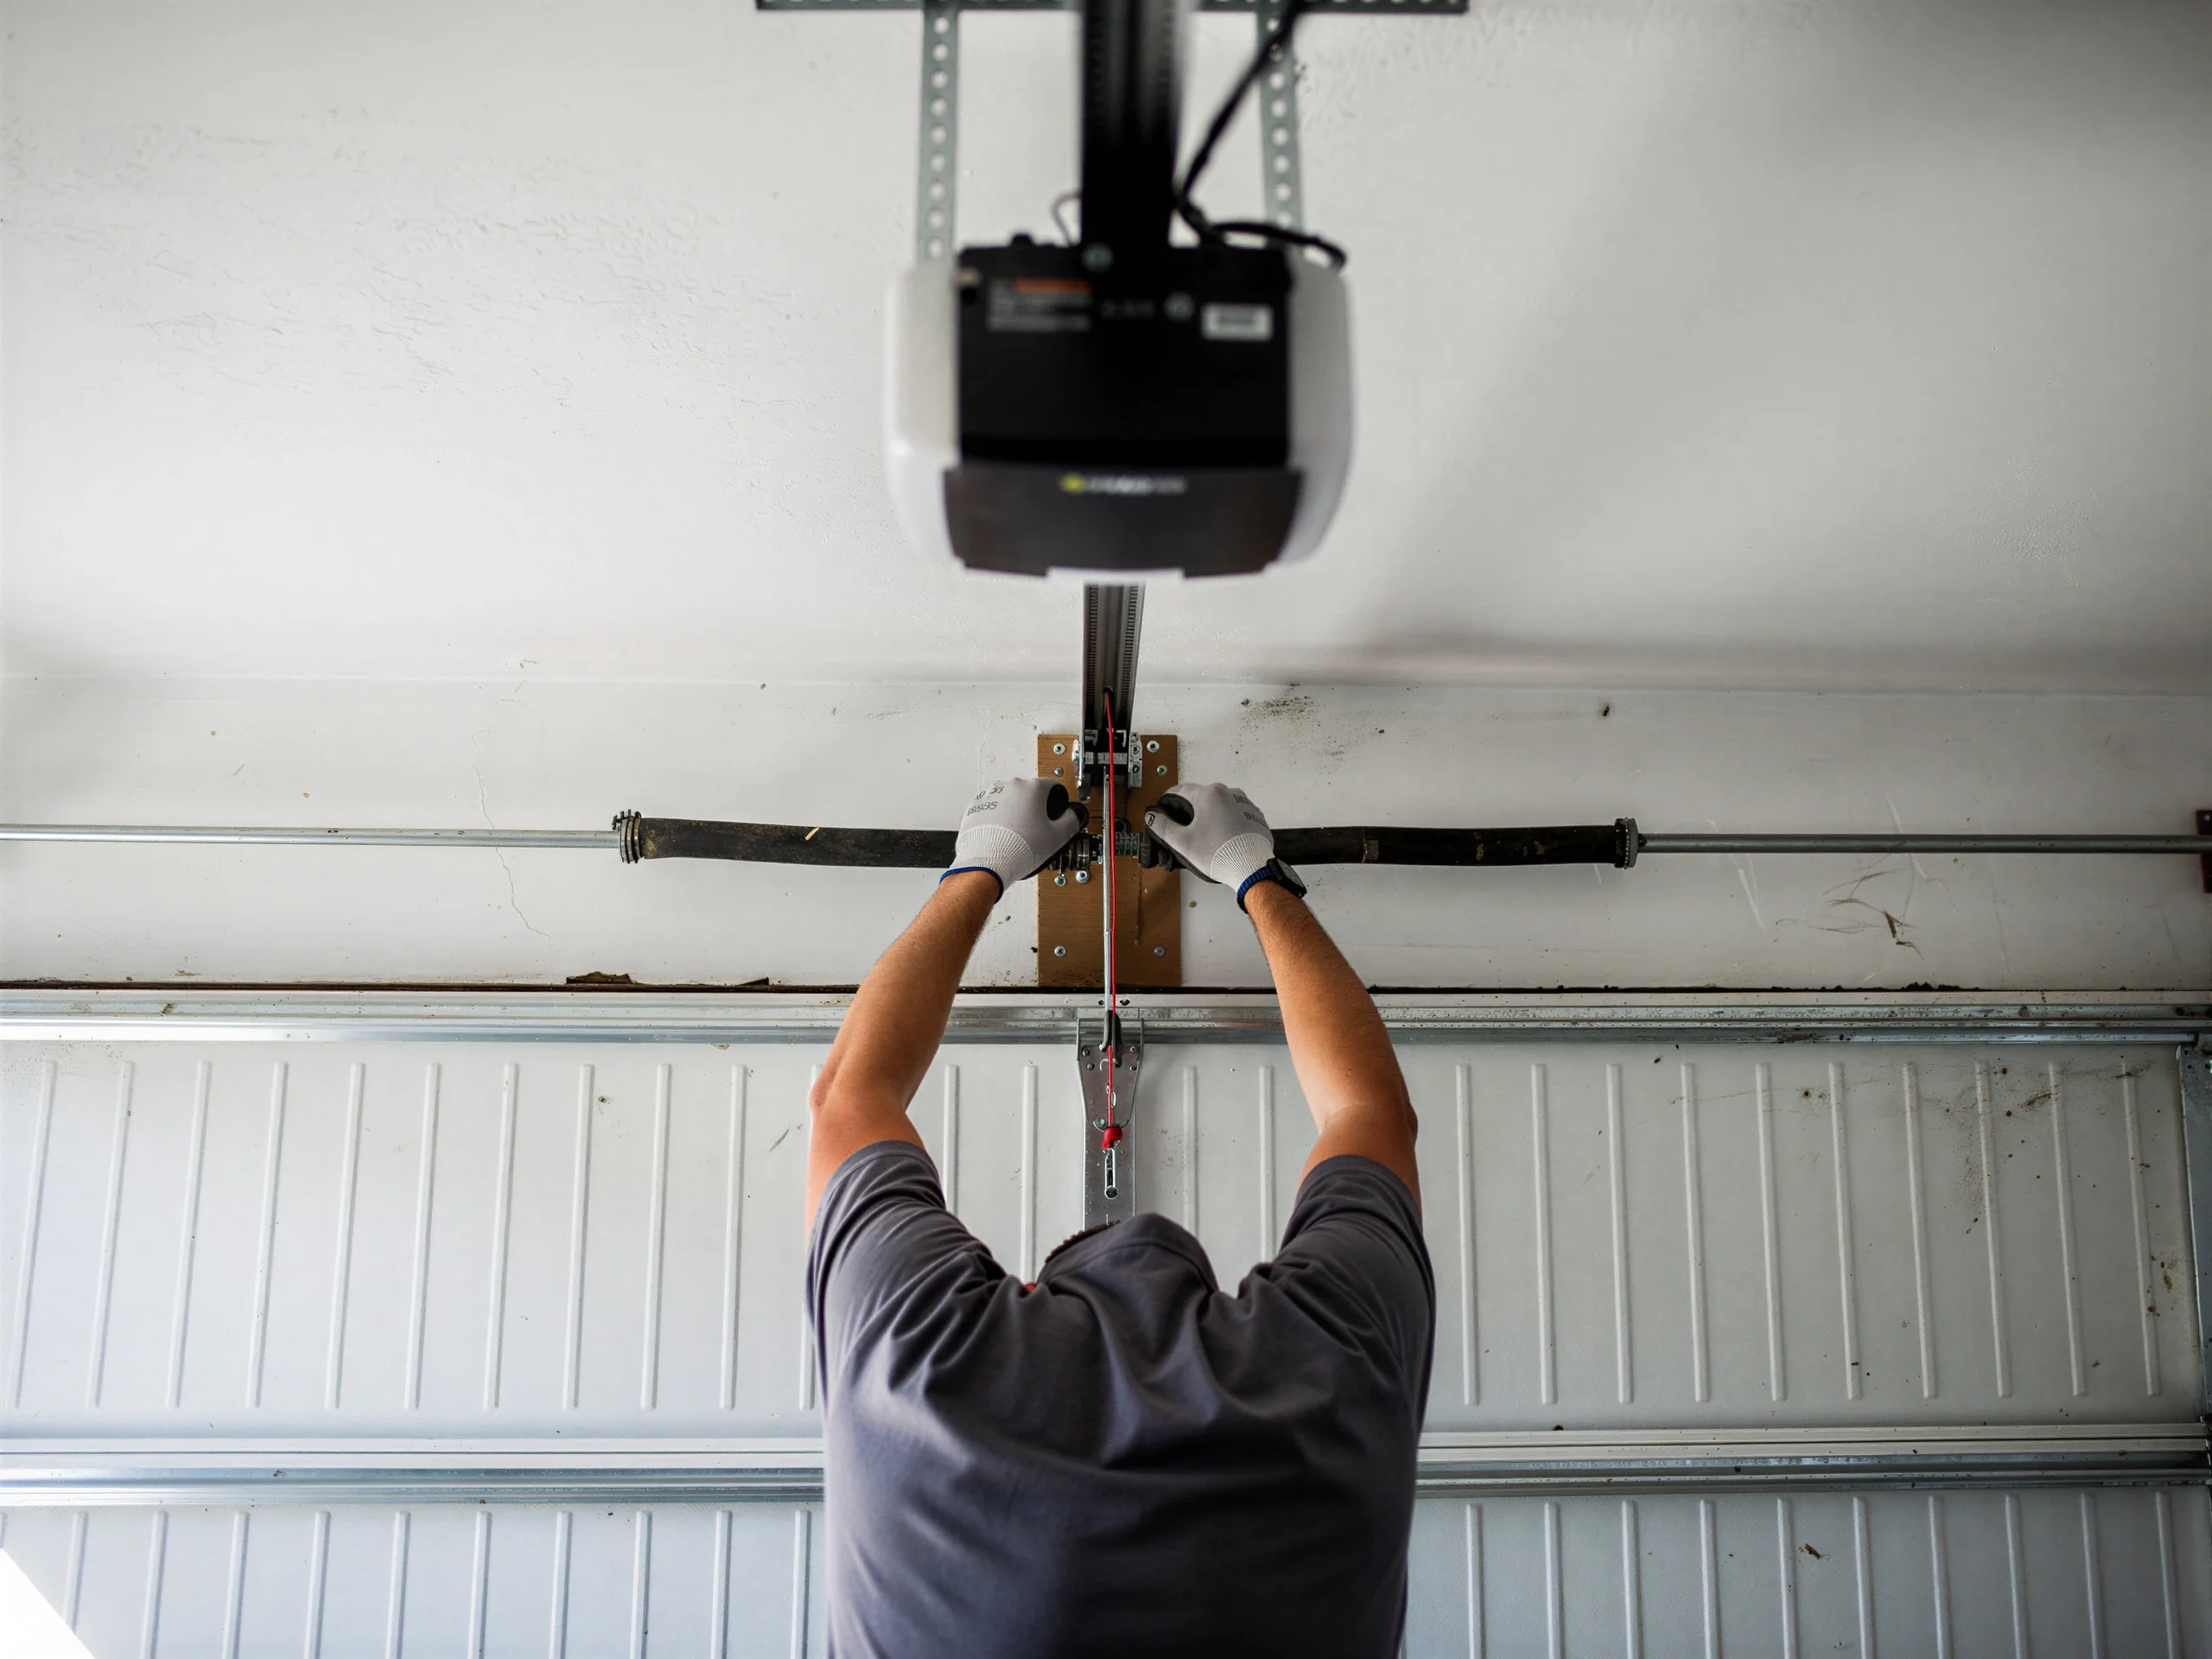
From there it's mounting the rail, securing the header bracket to solid framing, wiring the wall control and safety sensors at the code height, and setting the force and travel limits so the door reverses before it meets real resistance.
Idler and trolley wear
On a chain or belt system we also check the idler pulley and the trolley carriage, since those wear alongside the gear and get skipped if you're only replacing the motor head.
Manual pull test last
Last step is a manual pull test with the opener disconnected, which tells us whether the door was moving freely to begin with or whether the old opener was masking a track or roller problem underneath.
Talk to a local pro
Garage door service in Lexington?
Same-day service with honest, upfront quotes.